The merchant app at https://merchant.sherpo.io is where you build and run your store: products and their content, discounts, orders, subscriptions, customers, reviews, files, your website and your settings. This page explains how the app is laid out and what the store’s home page shows. New here? Start with Sign up and create a store.
Businesses and stores
Everything you do happens inside a business, which holds your stores, your team and your payouts. A business can have several stores. Each store has its own products, customers and website, while members, payouts and the plan belong to the business, so every store of a business is on the same plan.
After you sign in, Choose a store lists every business you belong to with its stores. Pick a store to open it. Each business has a New store button next to its name.
Getting around
The top bar
The bar at the top of every store page holds, from left to right:
- Switch business: the businesses you belong to, followed by the business settings pages (Business settings, Members, Payouts, Billing, Documents). Switching to another business opens its first store, or the new store form when it has none.
- Switch store: the stores of this business, followed by the store settings pages (Store settings, Plan & usage, Customer messages, Automations, Integrations, API clients, Webhooks) and New store.
- Visit store (the open-in-new-tab icon, once your store has an address): opens your storefront in a new tab. See Visiting your store.
- Search (⌘K on a Mac, Ctrl+K elsewhere): the command palette. Type to jump to a page, run an action such as Record order, or find orders and products by name or number.
- Account: your name and picture. Its menu has Account settings, Passkeys, API tokens, Connections, Theme (Auto, Light or Dark), Language when more than one is offered, Hide customer emails, Help (with Connect to your agent, the documentation and support), Sign out and Sign out everywhere.
Hide customer emails masks customer email addresses across the store’s pages, for example while you share your screen.
The store sidebar
The sidebar lists the store’s areas in groups:
| Group | Areas |
|---|---|
| (top) | Overview, the store’s home page, and Check-in |
| Catalog | Products, Discounts |
| Sales | Analytics, Orders, Subscriptions, Customers, Reviews |
| Content | Storage, Website |
| (bottom) | Settings |
Check-in shows to a member who can check guests in at an event’s door but can’t view products; a member who can do nothing else opens the store on it, without Overview. See Check-in.
A product opens with its own tabs for its pages, prices, content, sales and customers. See Products.
Settings, Business and Account areas
Three areas replace the store sidebar with one of their own:
- Store settings, under Settings in the sidebar or in the store switcher’s menu. Its Store section holds General, Plan & usage, Domain, Customer messages and Automations; its Connections section holds Integrations, API clients and Webhooks. See Store settings.
- Business settings, in the business switcher’s menu. Its Business section holds General and Members; its Money section holds Payouts, Billing and Documents. See Business, team and account.
- Account settings, in the account menu. Its Account section holds Profile, Passkeys, API tokens and Connections. See Business, team and account.
The store’s home page
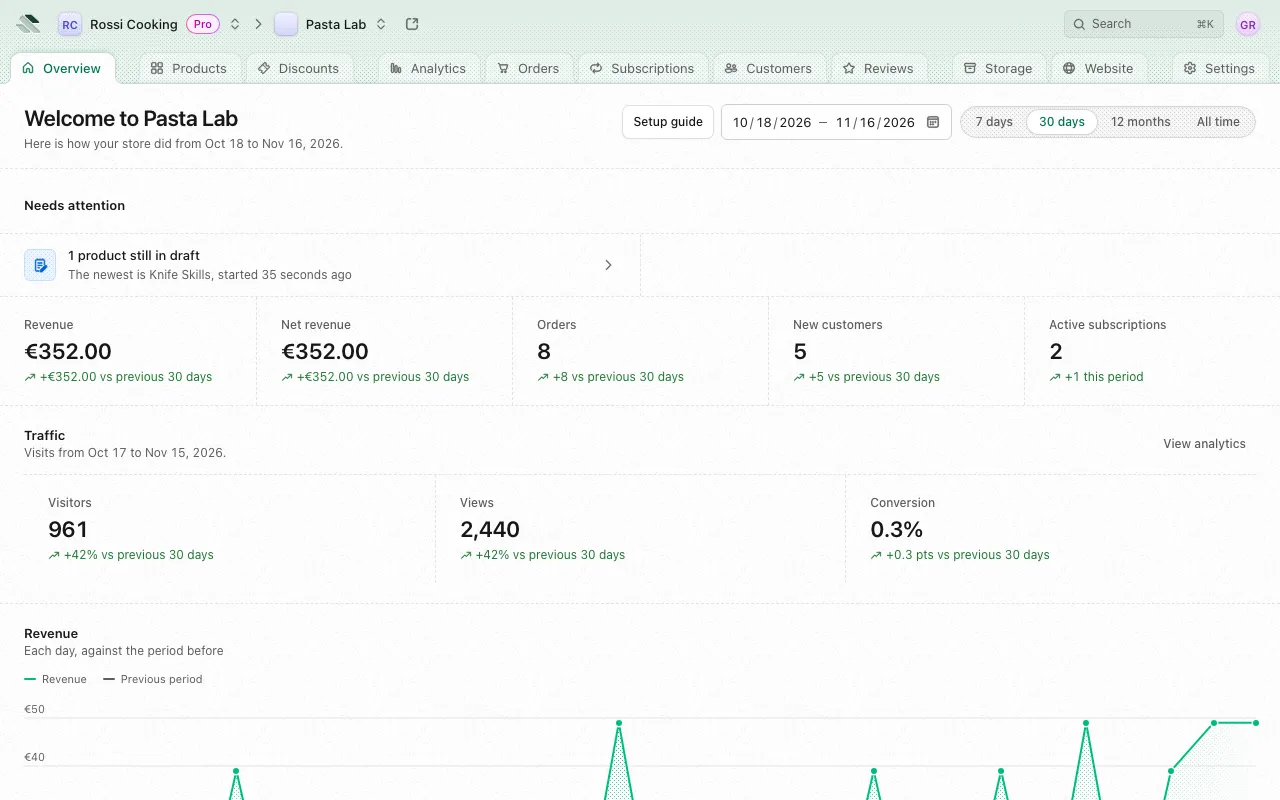
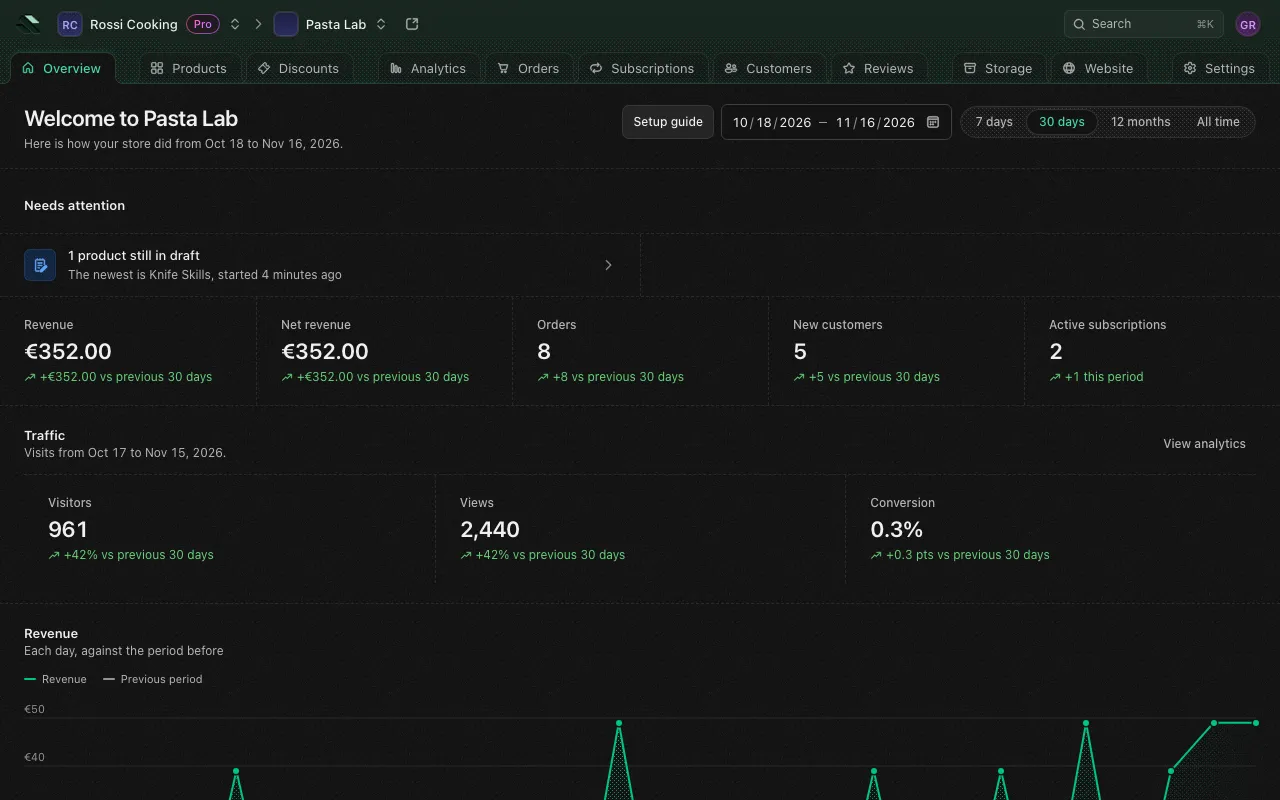
Overview is the first thing you see when you open a store. What it shows depends on how far along the store is and on what your permissions let you read.
Welcome and the setup guide
A store that is still setting up greets you with Welcome to and its name, and shows Set up your store, a checklist with a progress count (for example “3 of 7 done”):
- Set up payouts: connect Stripe in Payouts to get paid for what you sell.
- Describe your store: add an icon, a description, its language and currency in Store settings.
- Create your first product: pick what it is and give it a name.
- Give it a price: add a price buyers can pick.
- Add its content: what the product delivers, such as a lesson, an episode, a post, a file, a holding or an event’s first session, depending on the kind of product.
- Publish it: put it on sale in your store.
- Design your homepage: make your storefront’s homepage your own, then open your store to see it live.
Each step links to the page where you do it and shows Done once it is. A step you can’t do with your permissions reads Waiting on a member with access. View your store opens your storefront. Hide puts the checklist away in this browser; Setup guide in the page header brings it back. Once every step is done, the title becomes Welcome back.
Period and figures
Figures appear after the store’s first sale; until then the header reads “Your figures show here after your first sale.”
The period picker in the header sets the period the figures cover:
- 7 days, 30 days (the default), 12 months or All time.
- Pick days opens a calendar to choose your own range, of at most 366 days.
The header then reads “Here is how your store did from” one day to another (or “since” the first sale, for all time). Each figure compares with the period just before it, for example “+12% vs previous 30 days”. All time has nothing to compare with.
| Figure | What it counts |
|---|---|
| Revenue | Sales in the period, before refunds and fees. |
| Net revenue | What you keep once refunds, fees and commissions are taken off. |
| Orders | Orders placed in the period. |
| New customers | Customers who joined in the period (Customers over all time). |
| Active subscriptions | Subscriptions running now, with the change over the period. |
| Products | Your products, shown over all time only. |
For a member who can view orders, a Traffic row follows the figures (for every period but all time): visitors, views and conversion over the same days, counted through the last day added up, with View analytics to open Analytics.
Below the figures, Revenue charts revenue each day or each week, depending on the period’s length, against the previous period. Takings breaks the period’s money down into Sales, Refunds, Platform fees, Payment processing fees, Affiliate commissions and What you keep.
Currency
Figures show one currency at a time. The home picks your store’s currency, or the one you sold most in. When the store sold in more than one currency, a currency picker appears in the header to switch between them.
Needs attention
Needs attention lists what needs you right now, each item linking to the page where you deal with it. When nothing does, it reads “Nothing needs you right now.” It can show:
- Payouts aren’t set up, Stripe needs more details or Payments are paused, for the business’s Stripe account. Until Stripe is set up, you can only sell free content.
- A plan payment that didn’t go through, a plan that ends or moves to another plan on a date (with Resume plan where it can be resumed), and a Lite plan about to move to Pro after going over a limit.
- Plan limits: near the customer limit, new purchases and unlocks paused past it, Storage is nearly full, Storage is full and Transcription minutes are used up. See Plans.
- Parts of your website that don’t show because they go past what your plan applies.
- Low ratings: reviews of 2 stars or fewer in the last 30 days.
- Subscriptions that end with this period.
- Products still in draft.
- Tasks that couldn’t finish, such as an automation run or rebuilding customers’ access, with Retry to run them again.
Recent orders and latest reviews
Recent orders shows the 6 newest orders with their customer, payment and total; View all orders opens Orders. Latest reviews shows the 4 newest reviews with their rating and product; a review you hid carries a Hidden tag. See Customers and reviews.
Visiting your store
Visit store, the open-in-new-tab icon in the top bar (and View your store in the setup guide, while it shows), opens your storefront in a new tab, signed in as you in admin mode, so you see the store as it stands now. When a link from another site asks to open your store this way, the app first asks Open this store? with Open store and Back to the app.
If the store can’t be opened, you land back on Overview with “We couldn’t open your store. Try again in a moment.” A store with no address yet shows “Your store has no address to open yet.” A Preview opens your store the same way, showing your saved draft; when the draft can’t be shown, admin mode opens the live page and says so. When your store can’t open in admin mode for you and the preview can’t open without it, you land back on Overview instead: with “We couldn’t open your preview, as your permissions don’t include everything it needs. Ask an owner of the business for access.” when your permissions are the reason, or with “We couldn’t open your preview. If it keeps happening, open your live store from the top bar.” otherwise.
Closing a form with changes
When a sheet or dialog holds changes you haven’t saved, closing it with Cancel, Escape or a click outside asks Discard changes? first. Keep editing leaves it open with your changes, Discard closes it and drops them. Saving closes it without asking.
Leaving the page while a form holds changes, by the browser’s back or forward button, a link to another page or Sign out, first asks Leave without saving?: Stay keeps your changes, Leave drops them.
After an update
When we update the app while you have a page open, that page may no longer reach the app as it is now. What it tries then usually says “This page is out of date. Reload it to get the latest version.”, and offers Reload where it would offer to try again, as trying again would fail the same way. The step that met it saved nothing, though earlier steps of the same action may have, such as a product’s other settings before its thumbnail. If you have edits on the page, the browser asks before Reload drops them, so you can copy them first. A page that couldn’t load at all reloads on its own once the app answers.
Installing the app
You can install the merchant app to open it in its own window, like a desktop app: in Chrome, open the browser’s menu and choose Cast, save, and share > Install page as app; in Edge, choose Apps > Install this site as an app (both also show an install icon in the address bar); in Safari on a Mac, choose File > Add to Dock; on a phone, use Add to Home Screen.
Installed in Chrome or Edge on a computer, the top bar runs up to the window’s top edge, with the window’s own buttons over its corner. Drag the window by the empty part of the top bar. Chrome and Edge also show a button there to switch back to a regular title bar, which takes the color of the top bar so the two read as one.
Permissions
Each member of a business has Full access or a chosen set of permissions, such as viewing products or editing discounts. The app follows them:
- An area you can’t view is left out of the sidebar, and its home page sections are left out (for example “Sales figures aren’t shown to your role.” or “Revenue isn’t shown to your role.”).
- A menu item you can’t open is shown disabled with “Ask a member of this business with full access to give you access.”
- A page you can view but not change says so at the top, and its actions are disabled.
Billing, payouts setup, documents and deleting the business or a store need full access. See Members for how permissions are given.
Pages in this section
Sign up and create a store
Analytics
Products
Tiers, prices and access
Content
Files and storage
Customers and reviews
Orders and subscriptions
Discounts and affiliates
Website
AI features
Store settings
Business, team and account
Plans