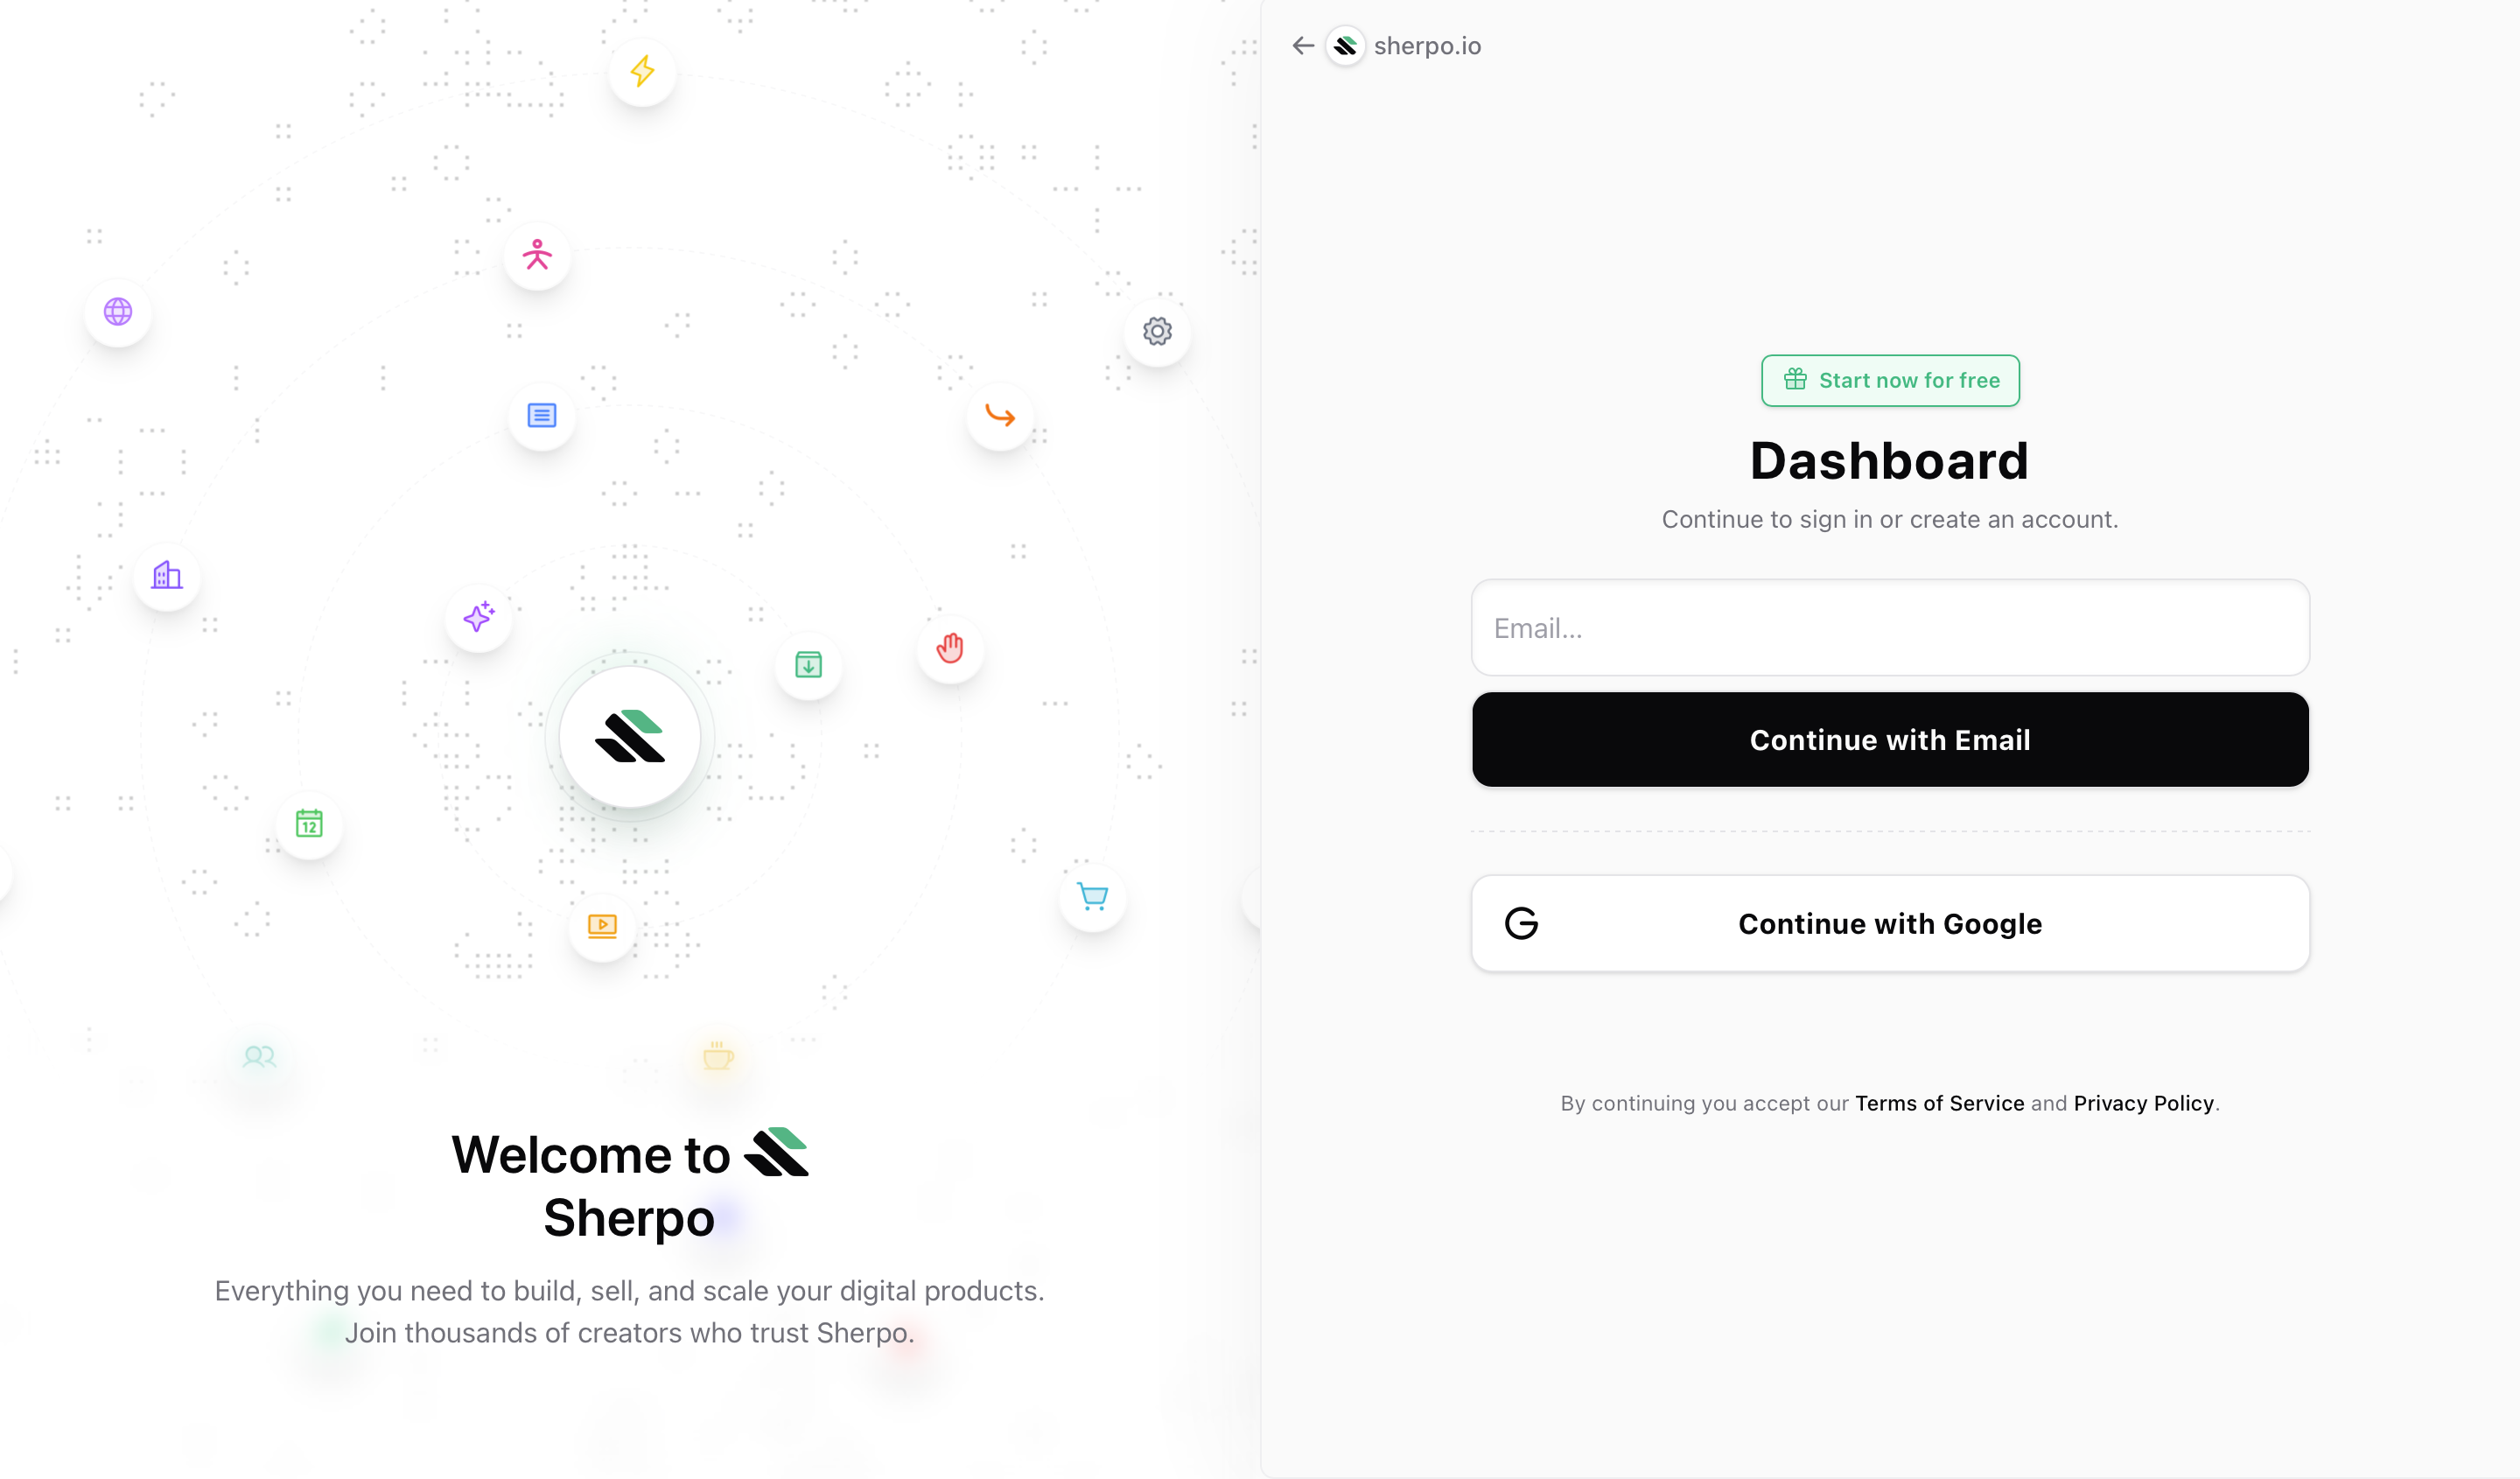
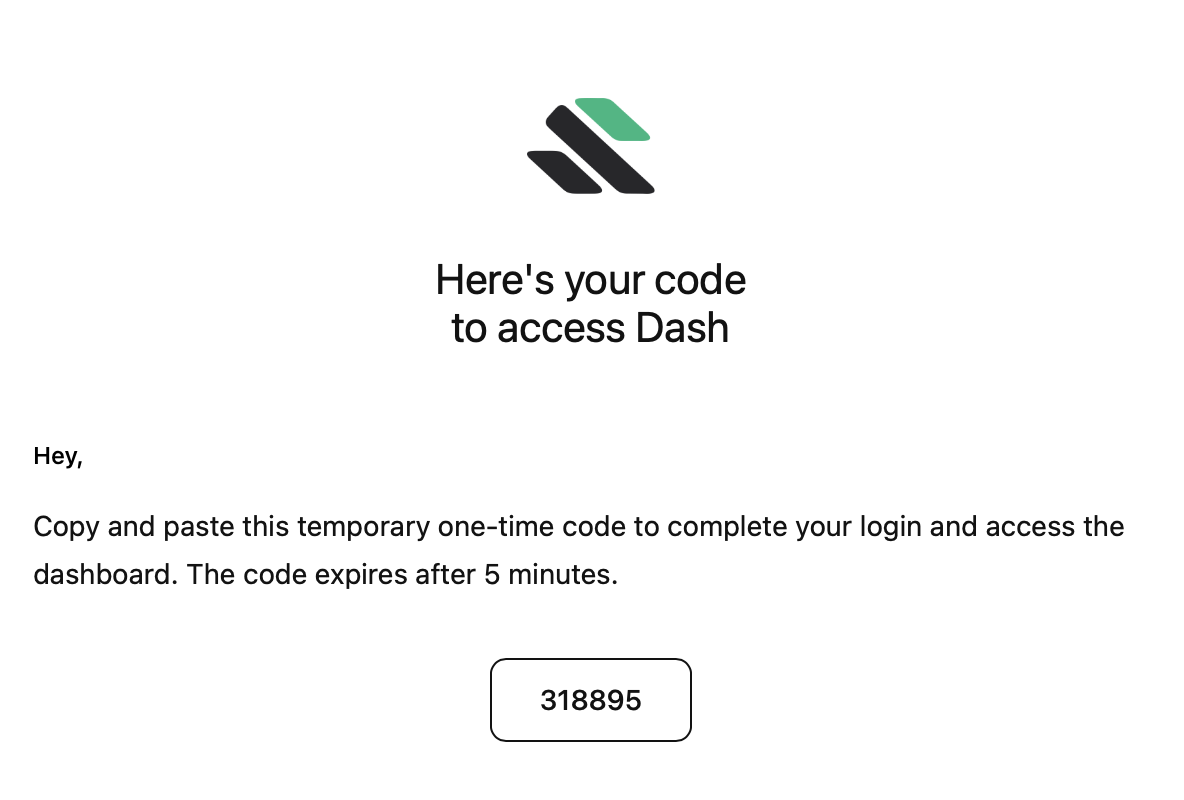
Magic link codes expire after 5 minutes and may take up to a few minutes to deliver. Check your spam folder just in case.
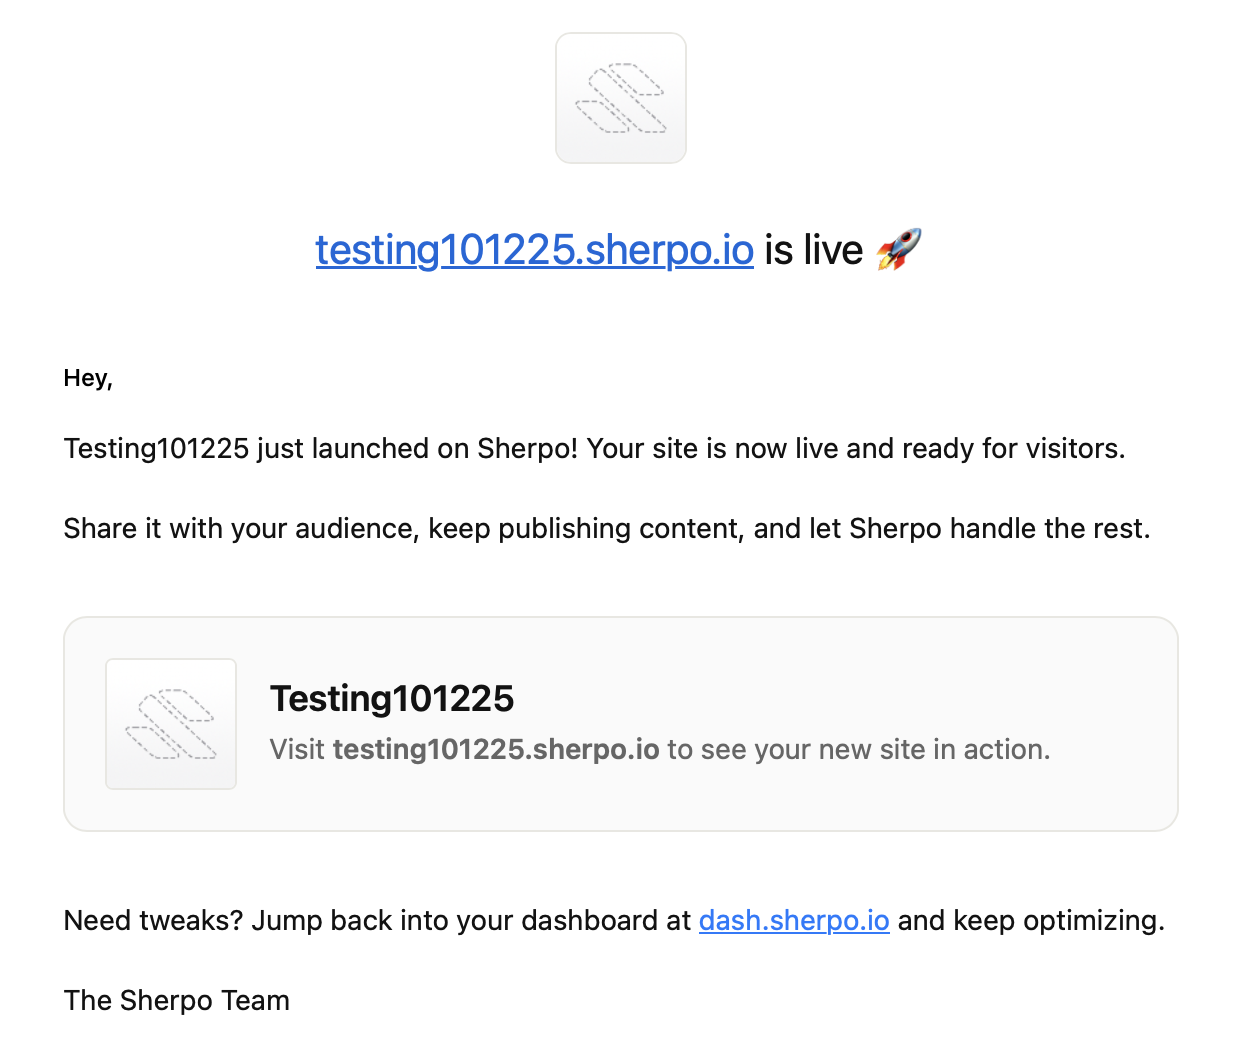
Once logged in, you will receive a welcome email:
Step 1: Your business
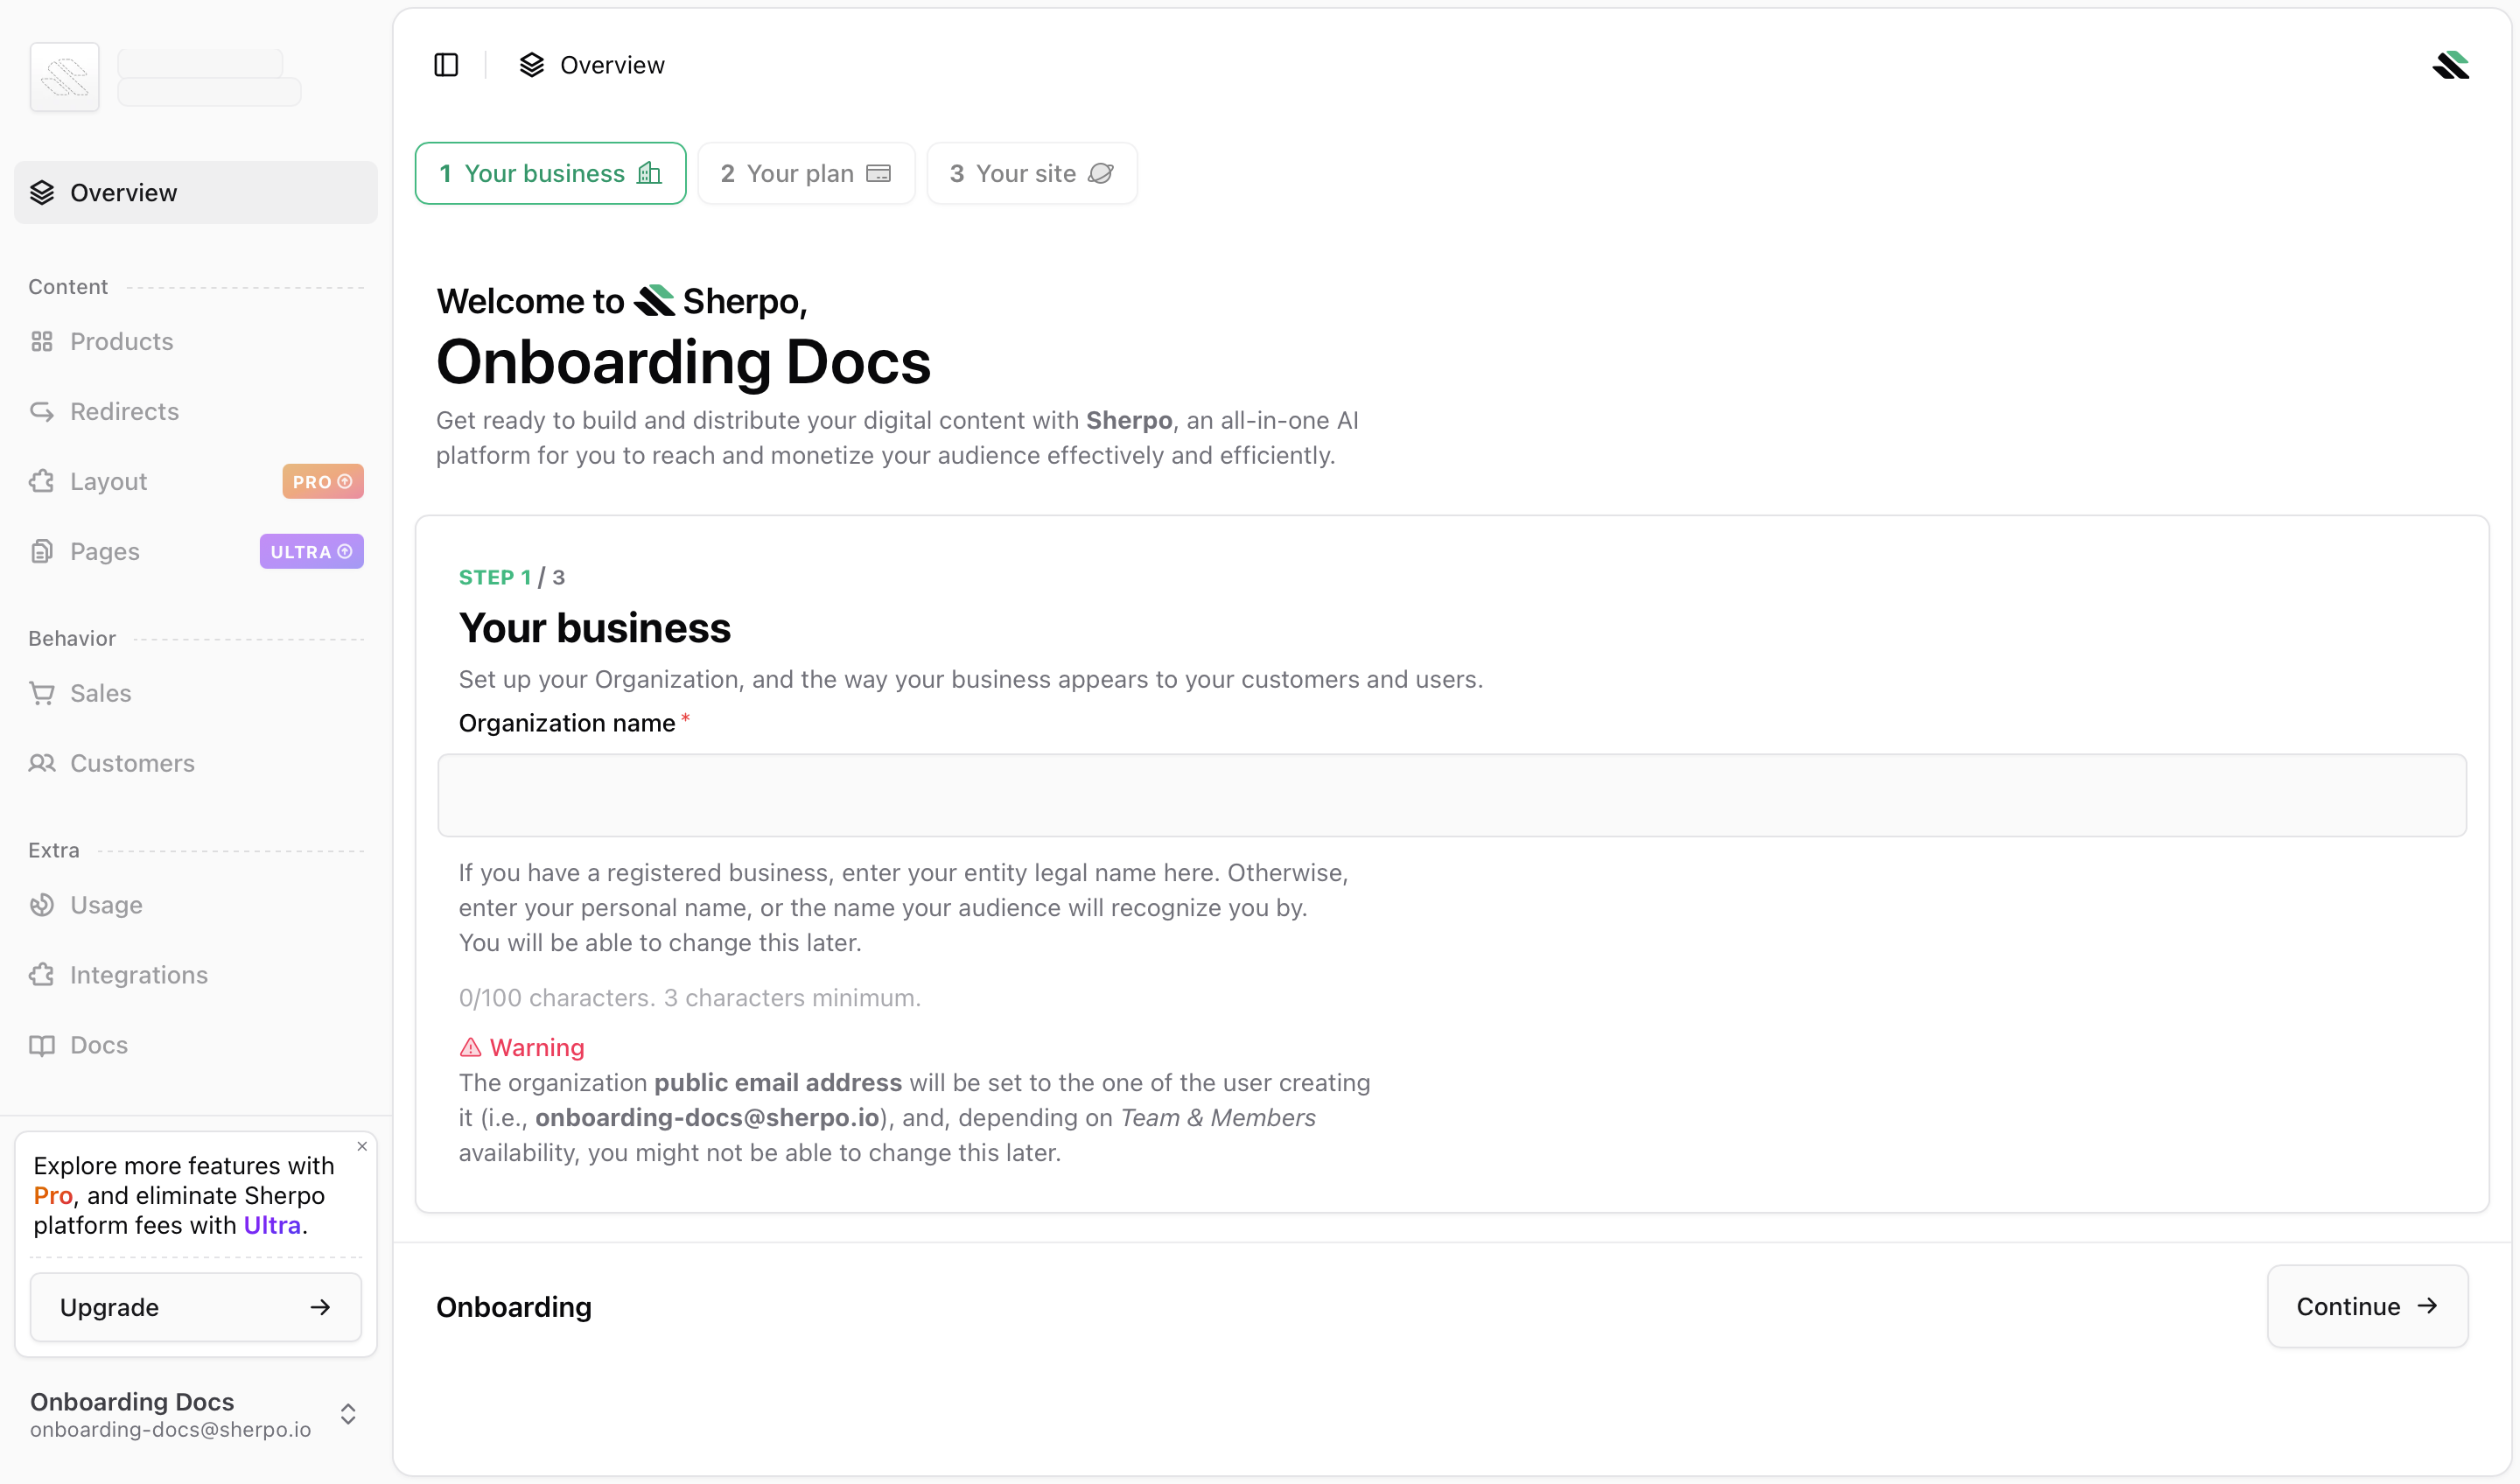
Organization name
- Accepts 3 to 100 characters.
- Use your legal business name if applicable, or the brand name your customers recognize.
- You can change this later from Organization → Settings.
Important note about your organization email
Your organization public email address is set to the email of the user creating the organization (for example,[email protected]). Depending on Team & Members availability, you might not be able to change this later.
Submission
Click Continue to create the organization and move to Step 2. You will always be able to manage your organization settings later, by clicking your icon in the top-left corner: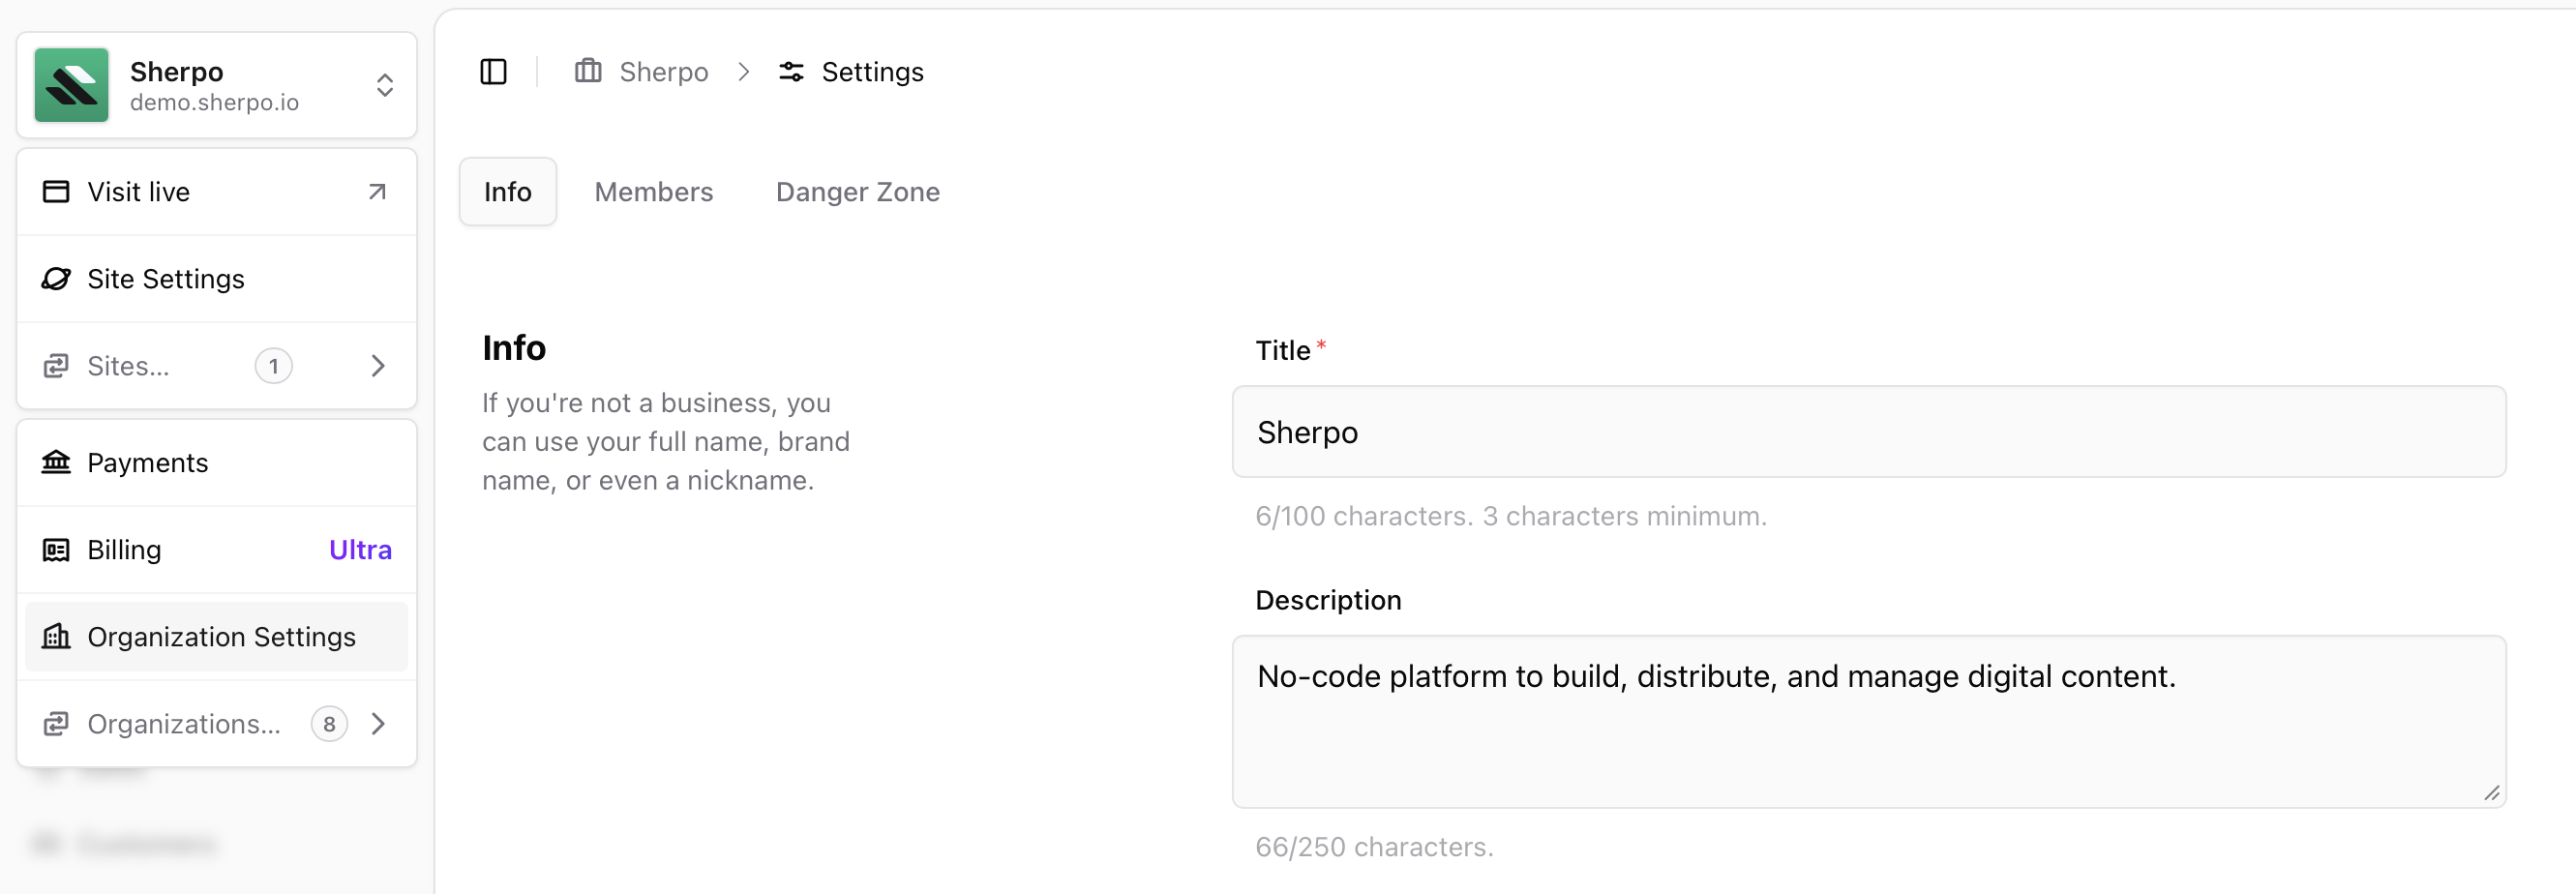
Step 2: Your plan
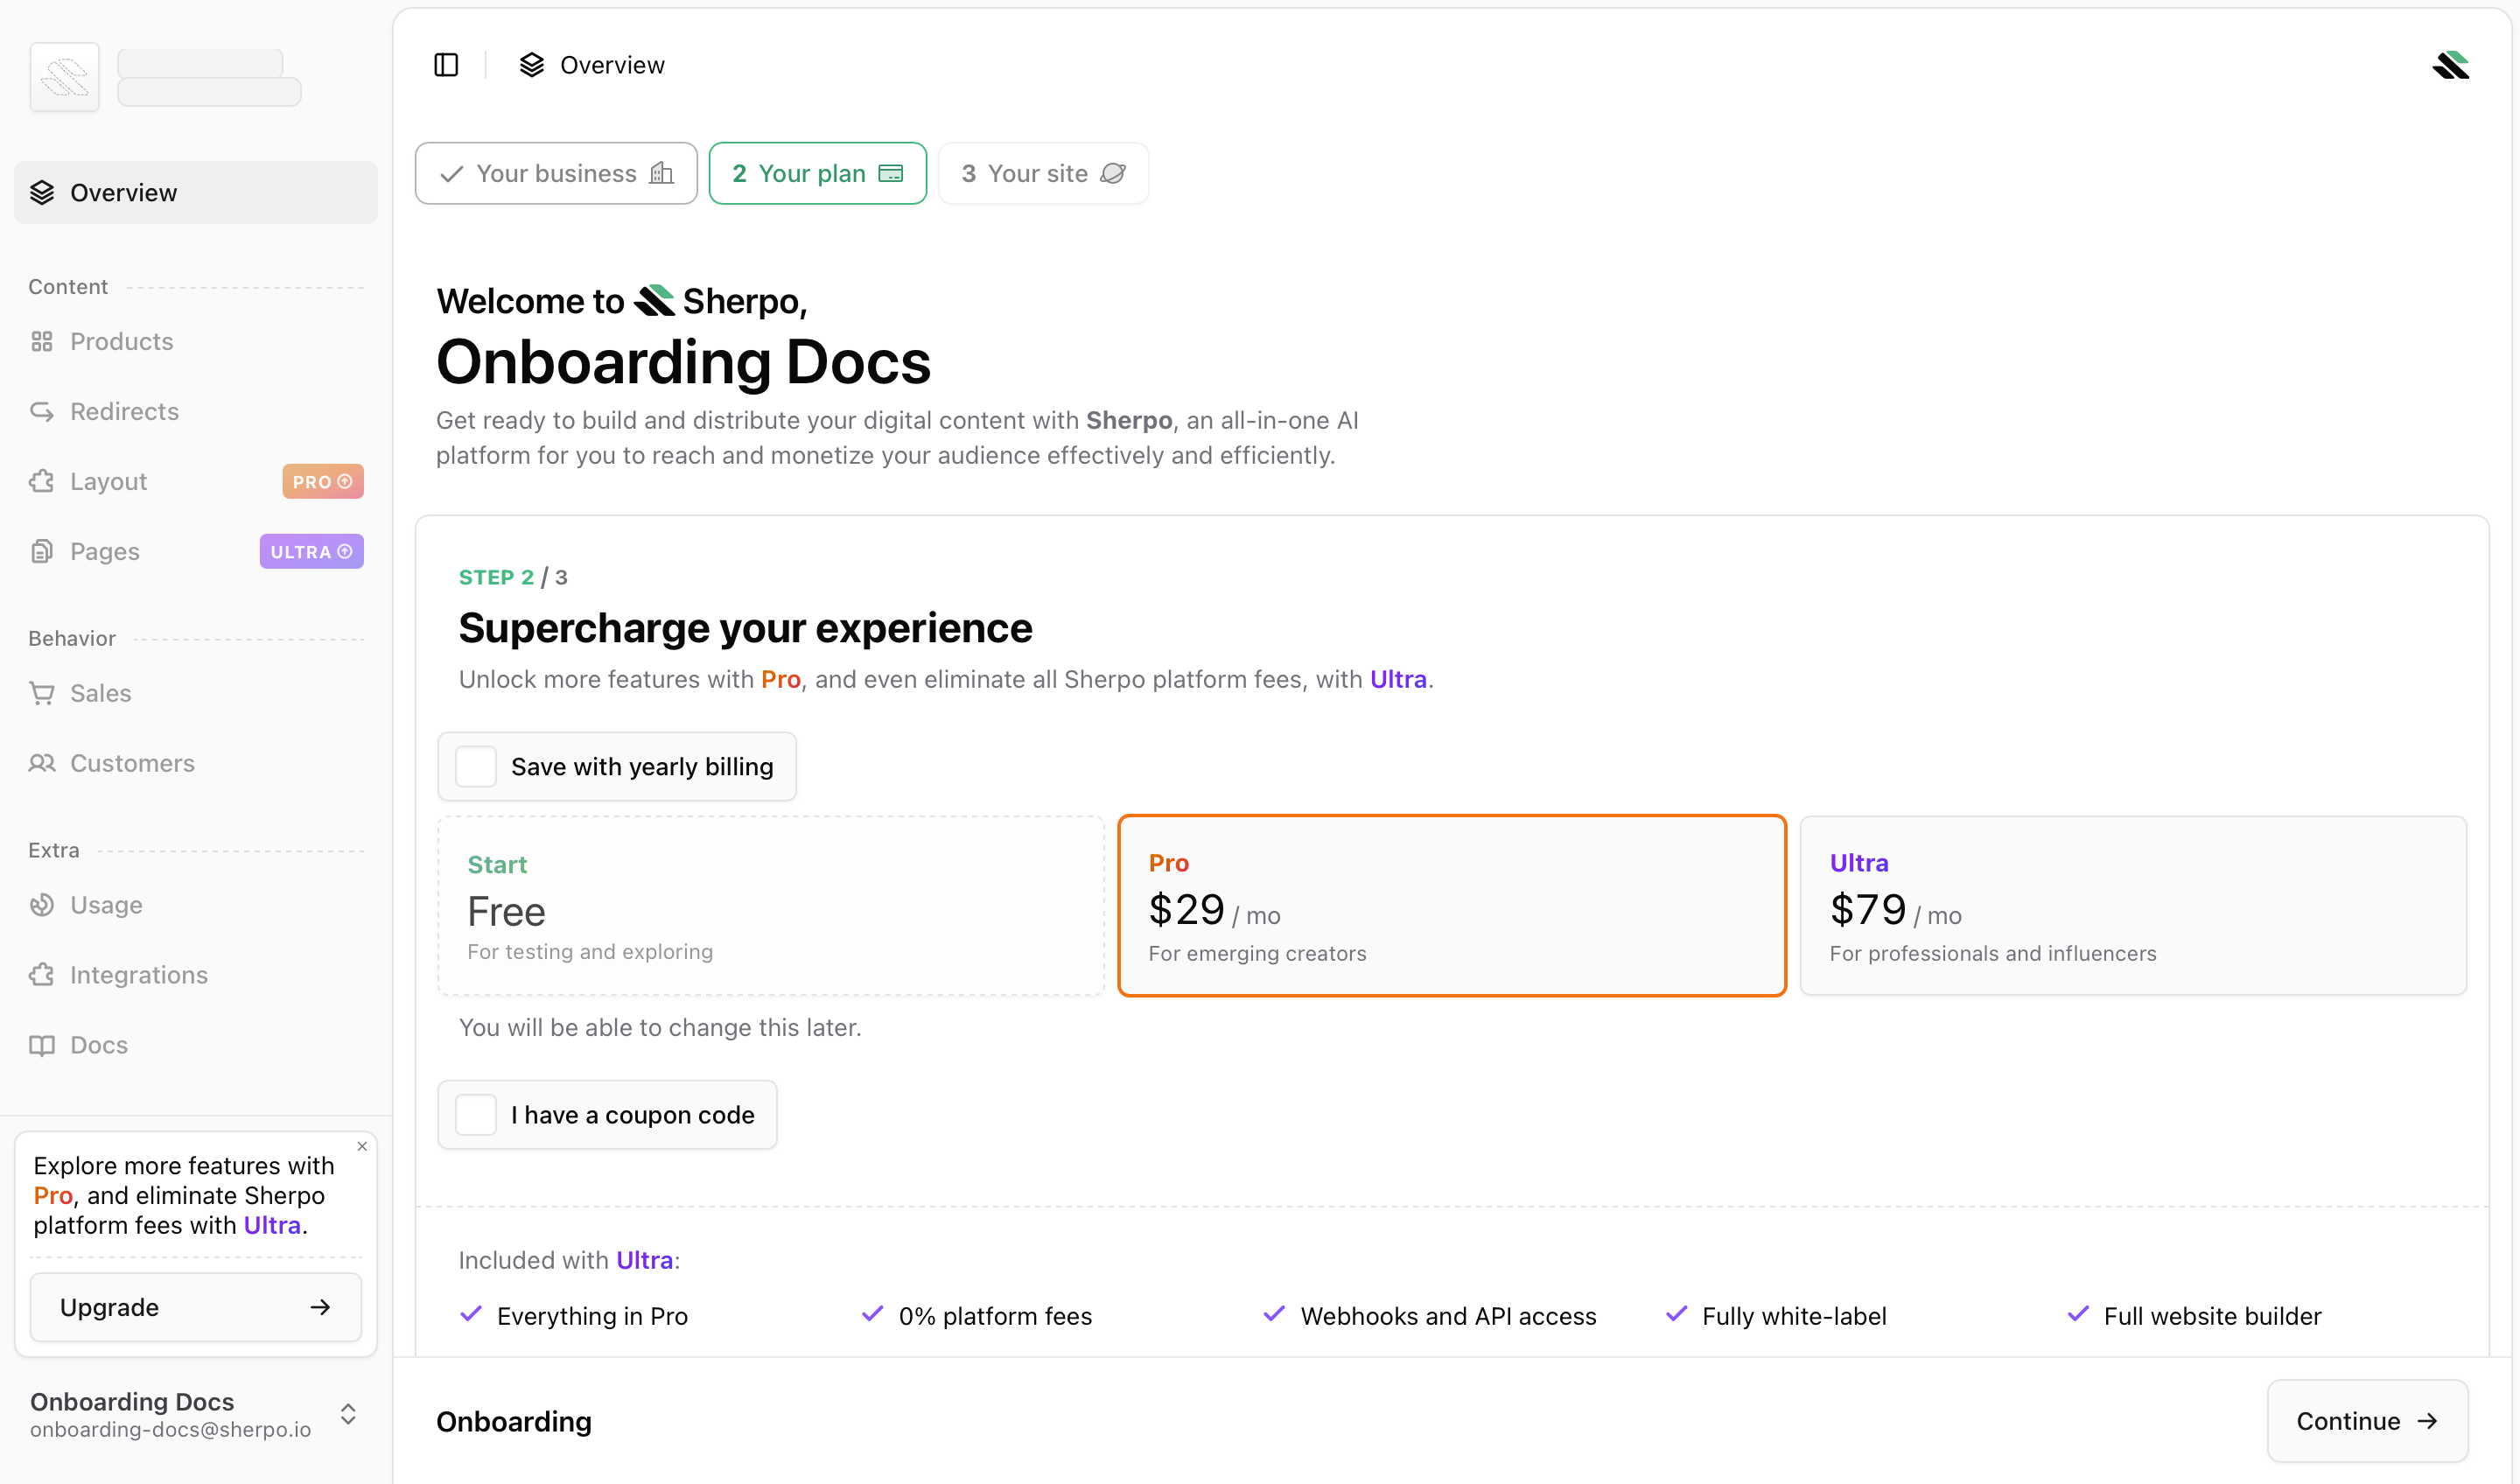
Plans
- Free (Start): for testing and exploring.
- Pro: $29/month, for emerging creators.
- Ultra: $79/month, for professionals and influencers.
Options on this screen
- Save with yearly billing: enables annual billing (when applicable).
- I have a coupon code: apply a promo code during checkout.
What happens after you choose
- Free (Start): click Continue to proceed to Step 3.
- Pro or Ultra: Sherpo opens a secure Stripe Checkout. After payment, you return to onboarding automatically.
Step 3: Your site
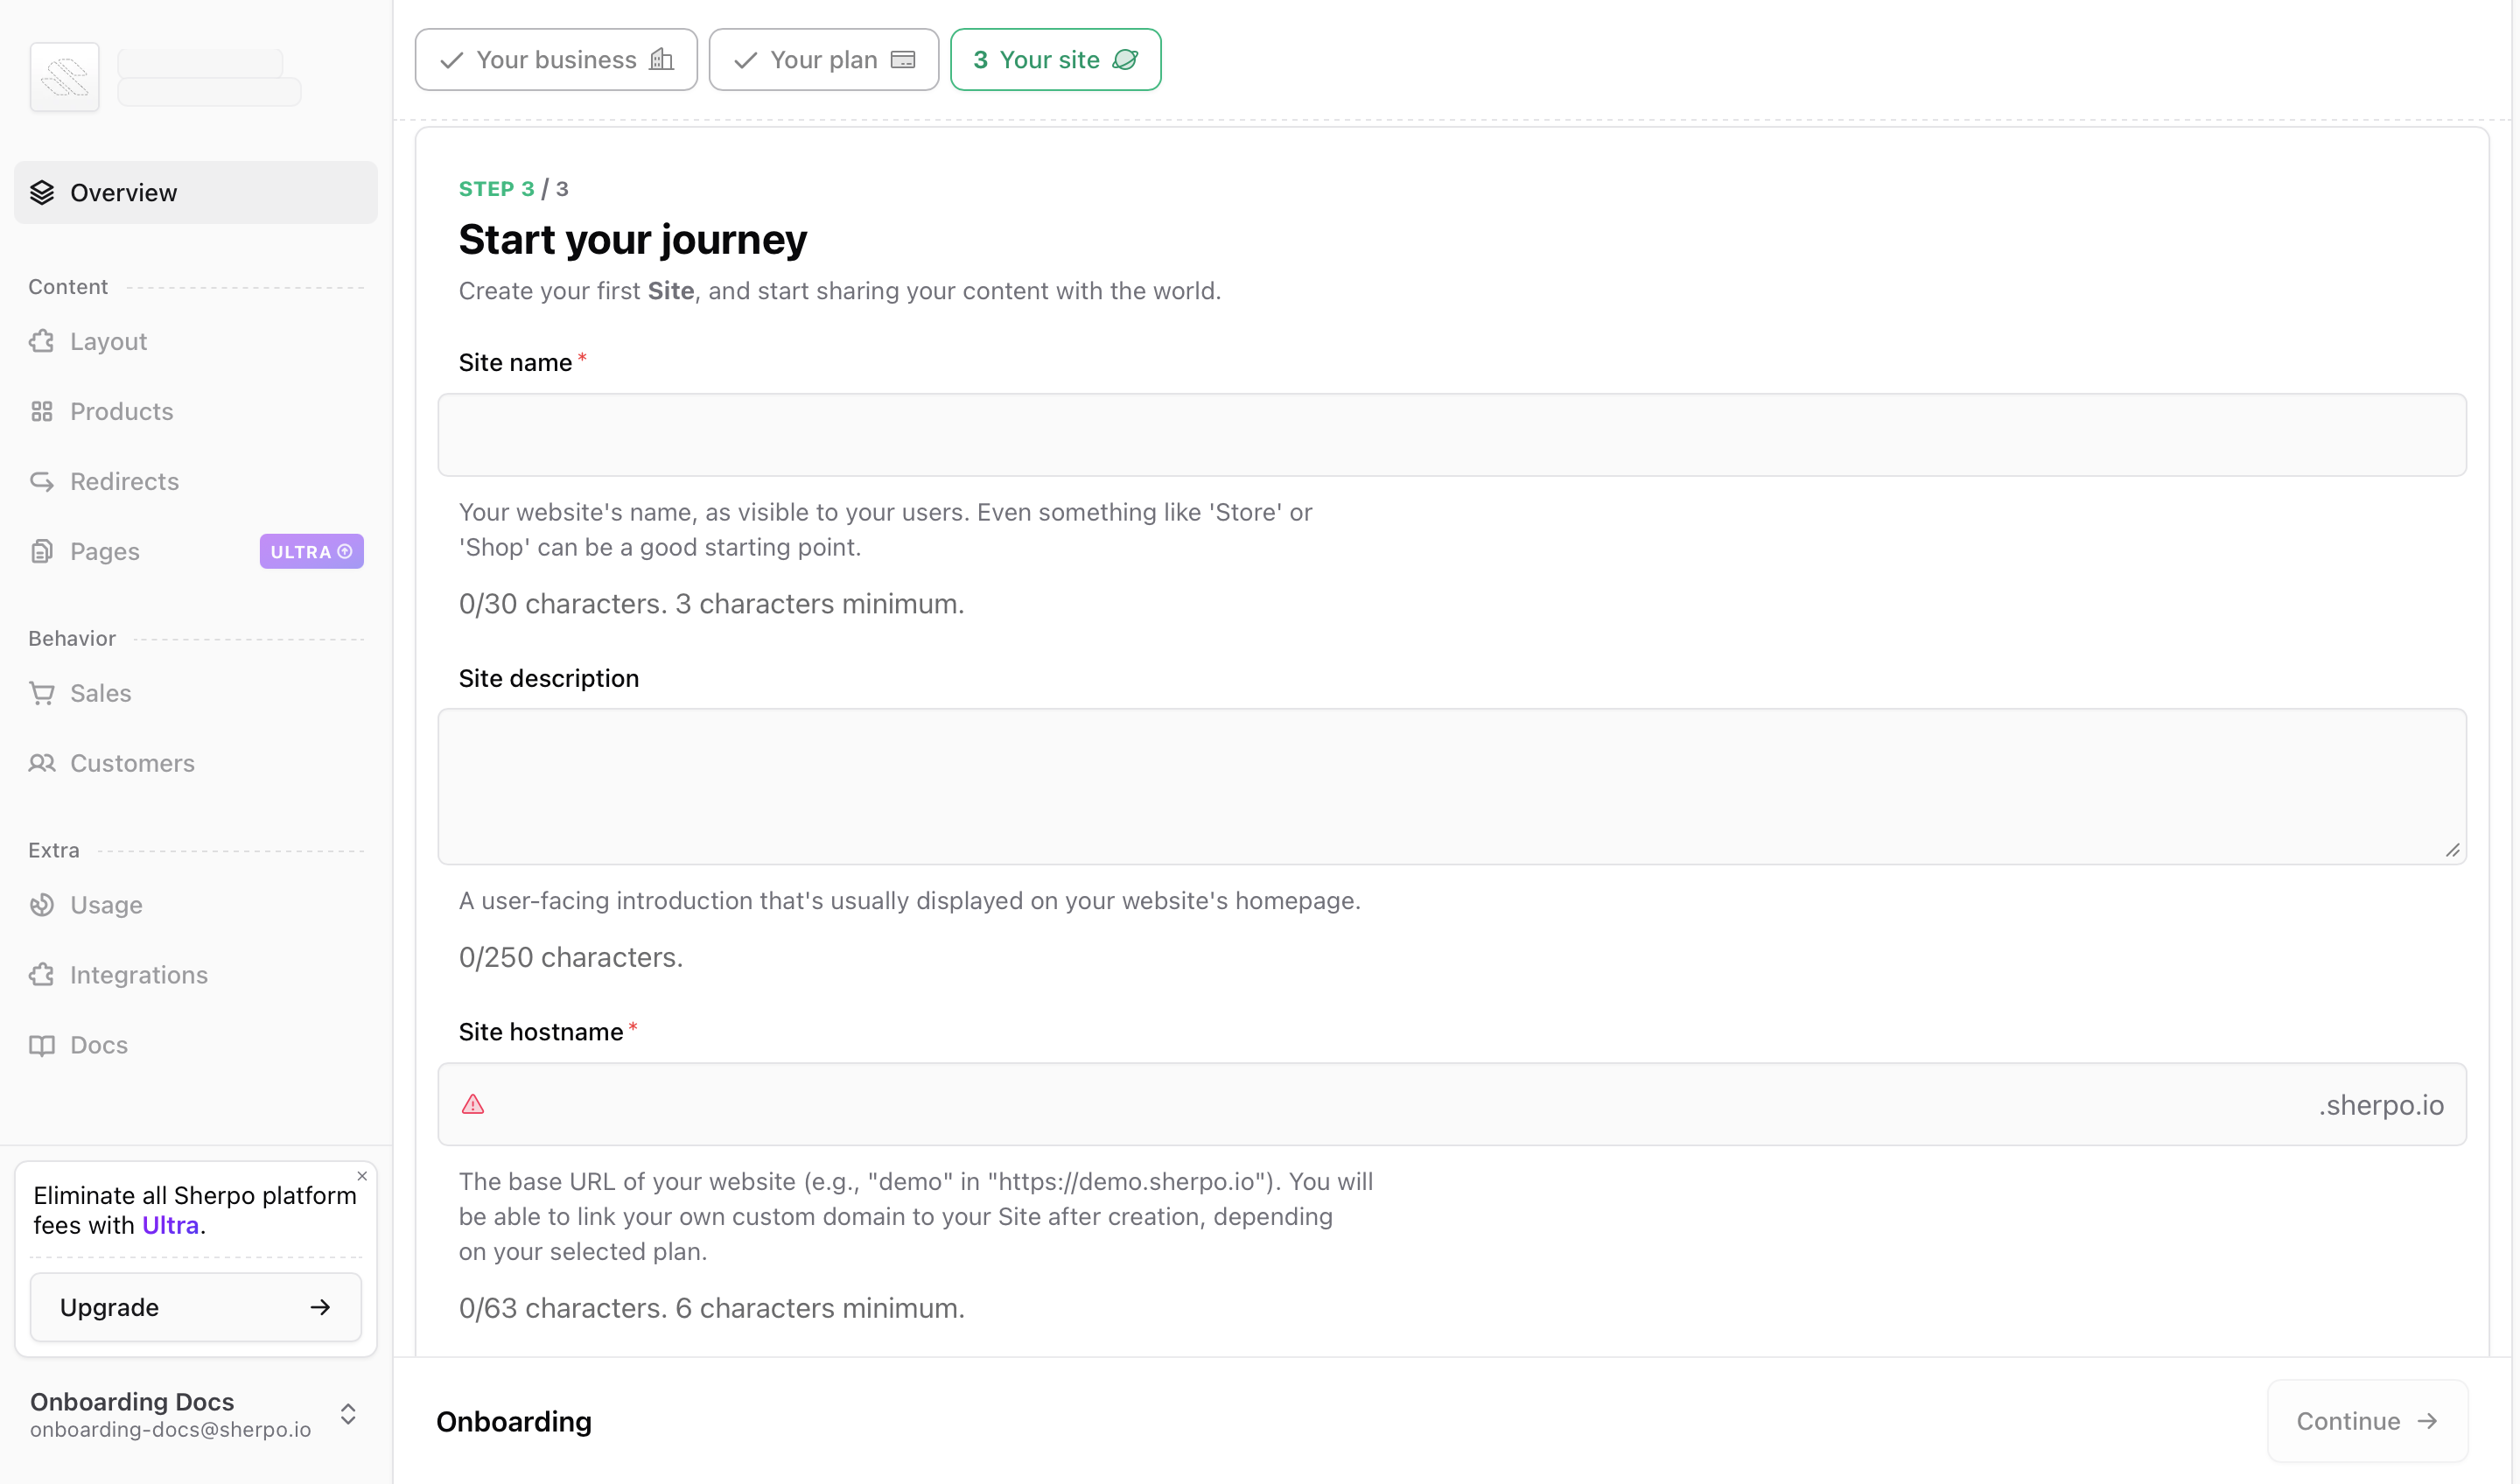
Step 3 creates your first site. Here, you will be able to select:- Site name: 3 to 30 characters (shown to visitors).
- Site description: optional, up to 250 characters (often shown on your homepage).
- Choose your site hostname under
sherpo.io.- Must be 6 to 63 characters.
- Must be unique across Sherpo.
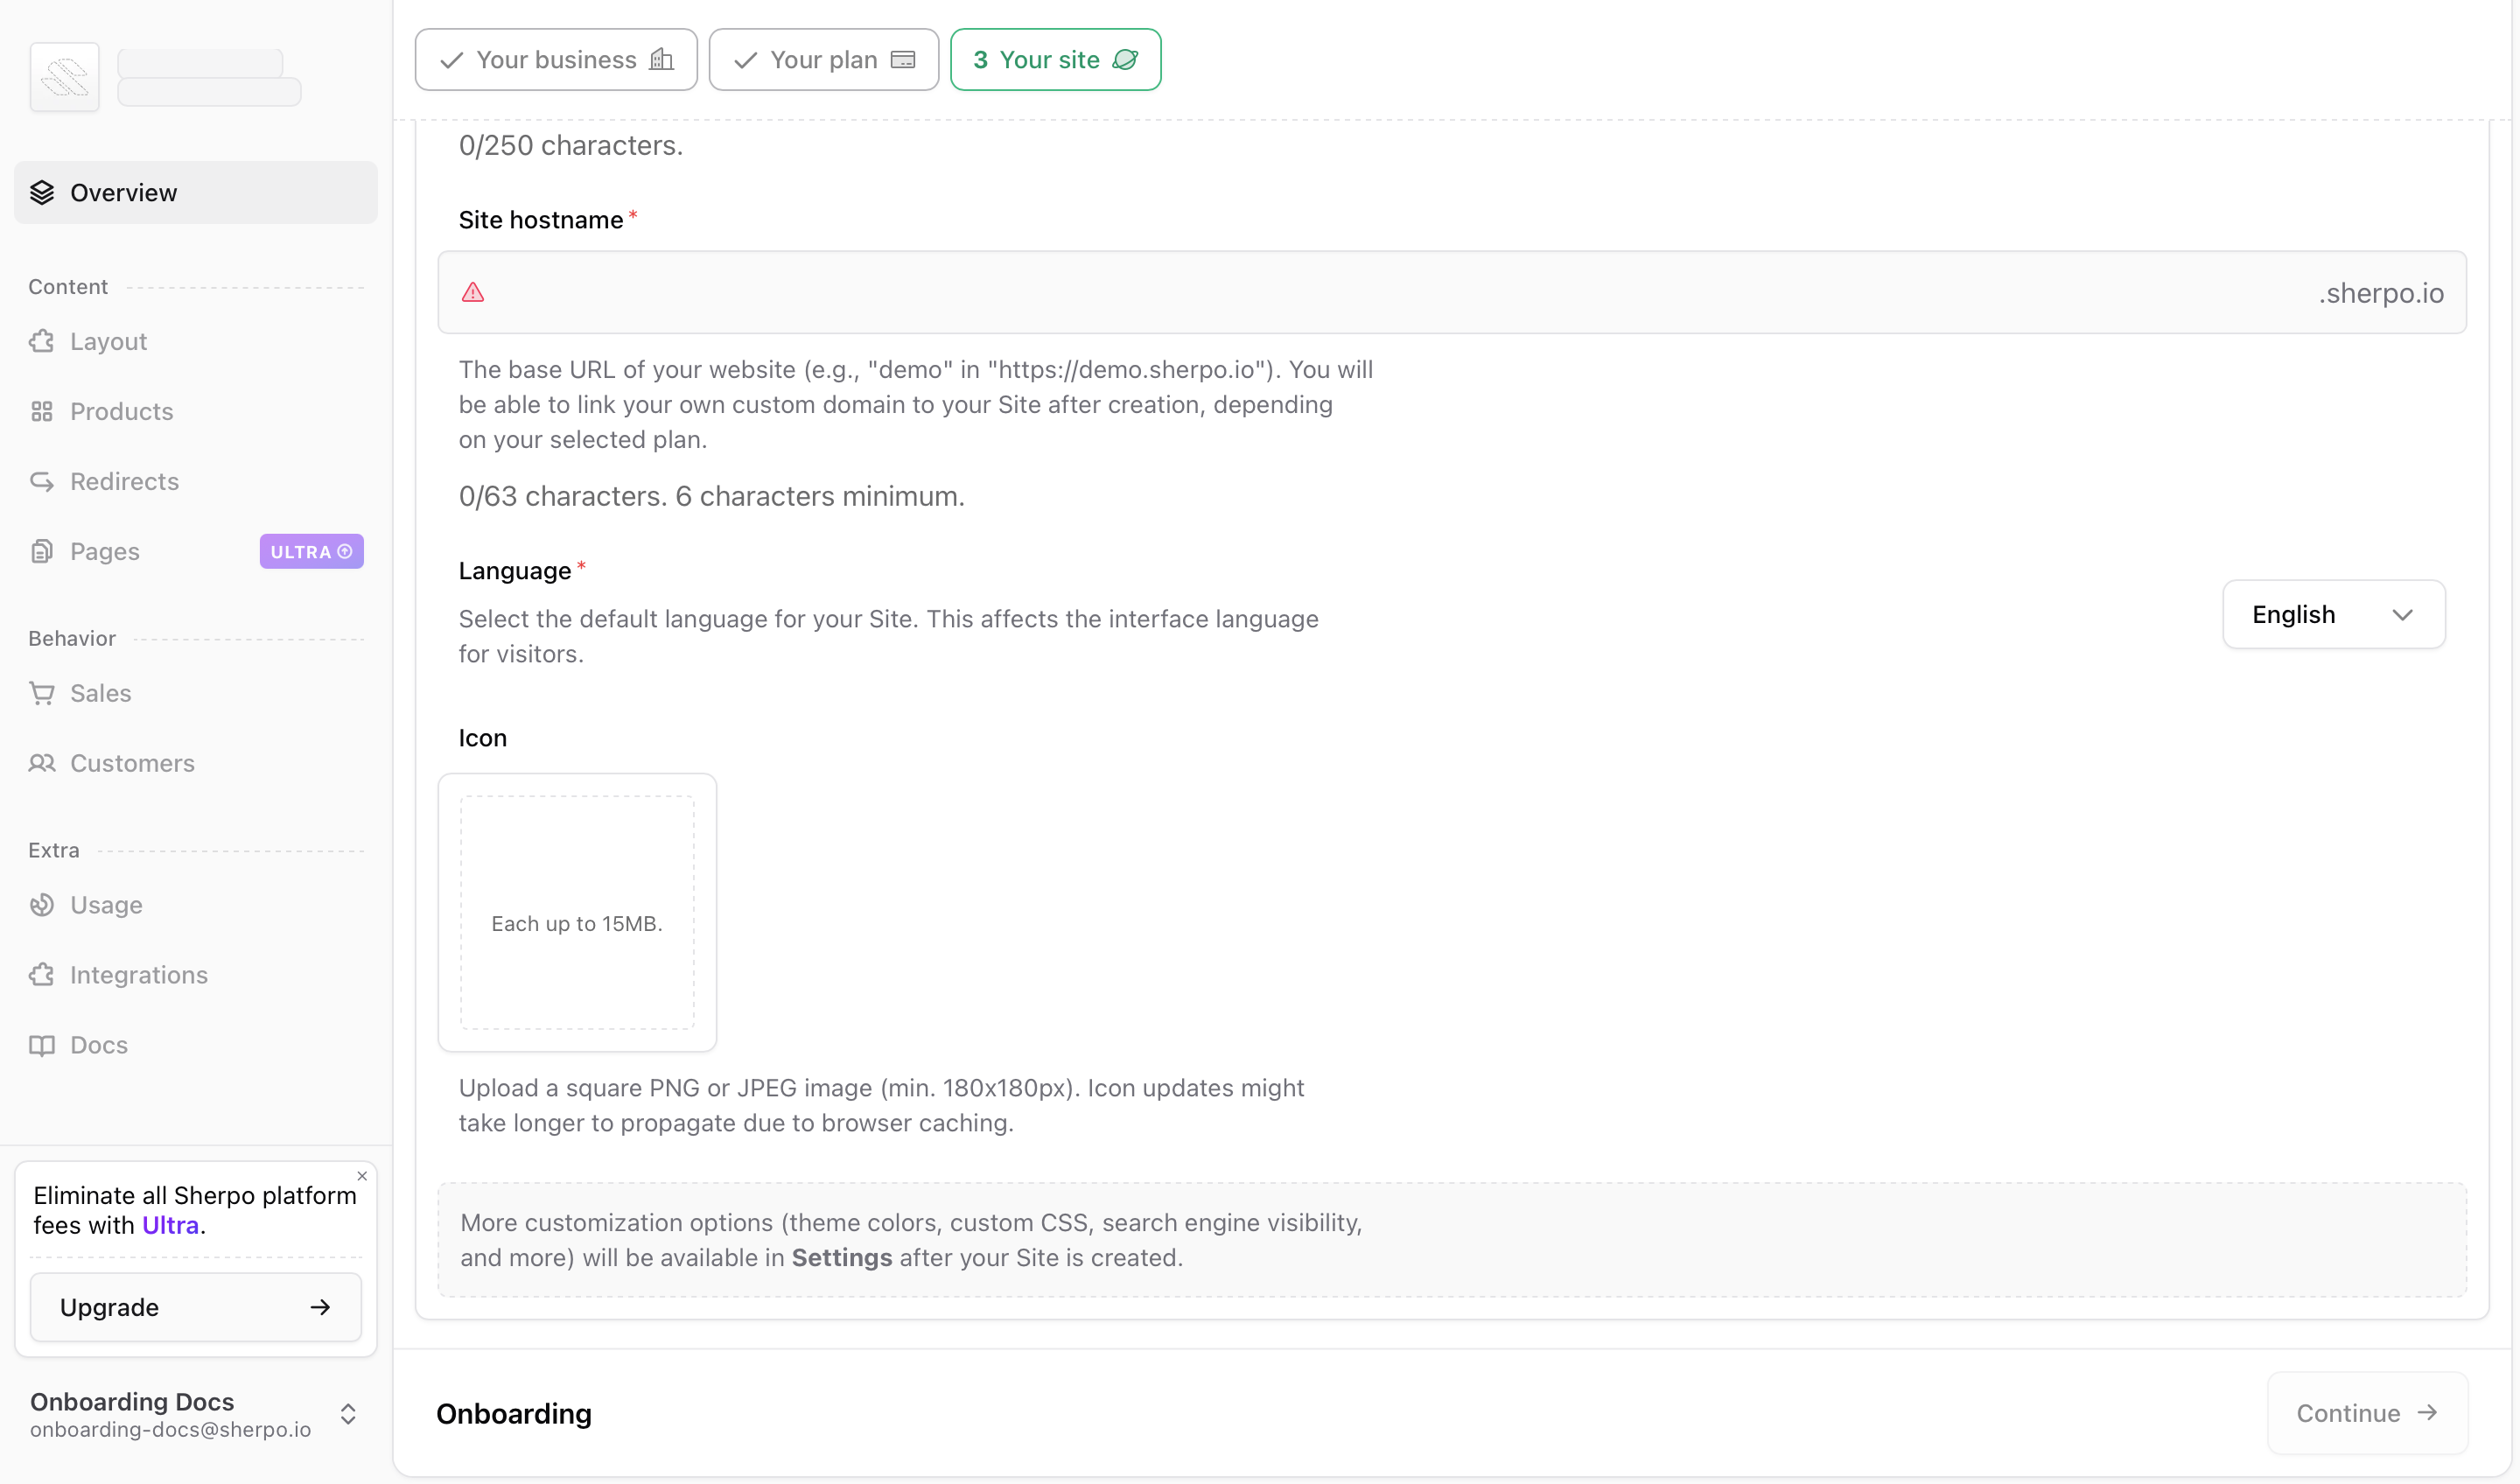
- Language: sets the default language for your site and affects the interface language for visitors.
- Icon: upload a square PNG or JPEG (minimum 180×180 px). Icon updates might take longer to propagate due to browser caching.
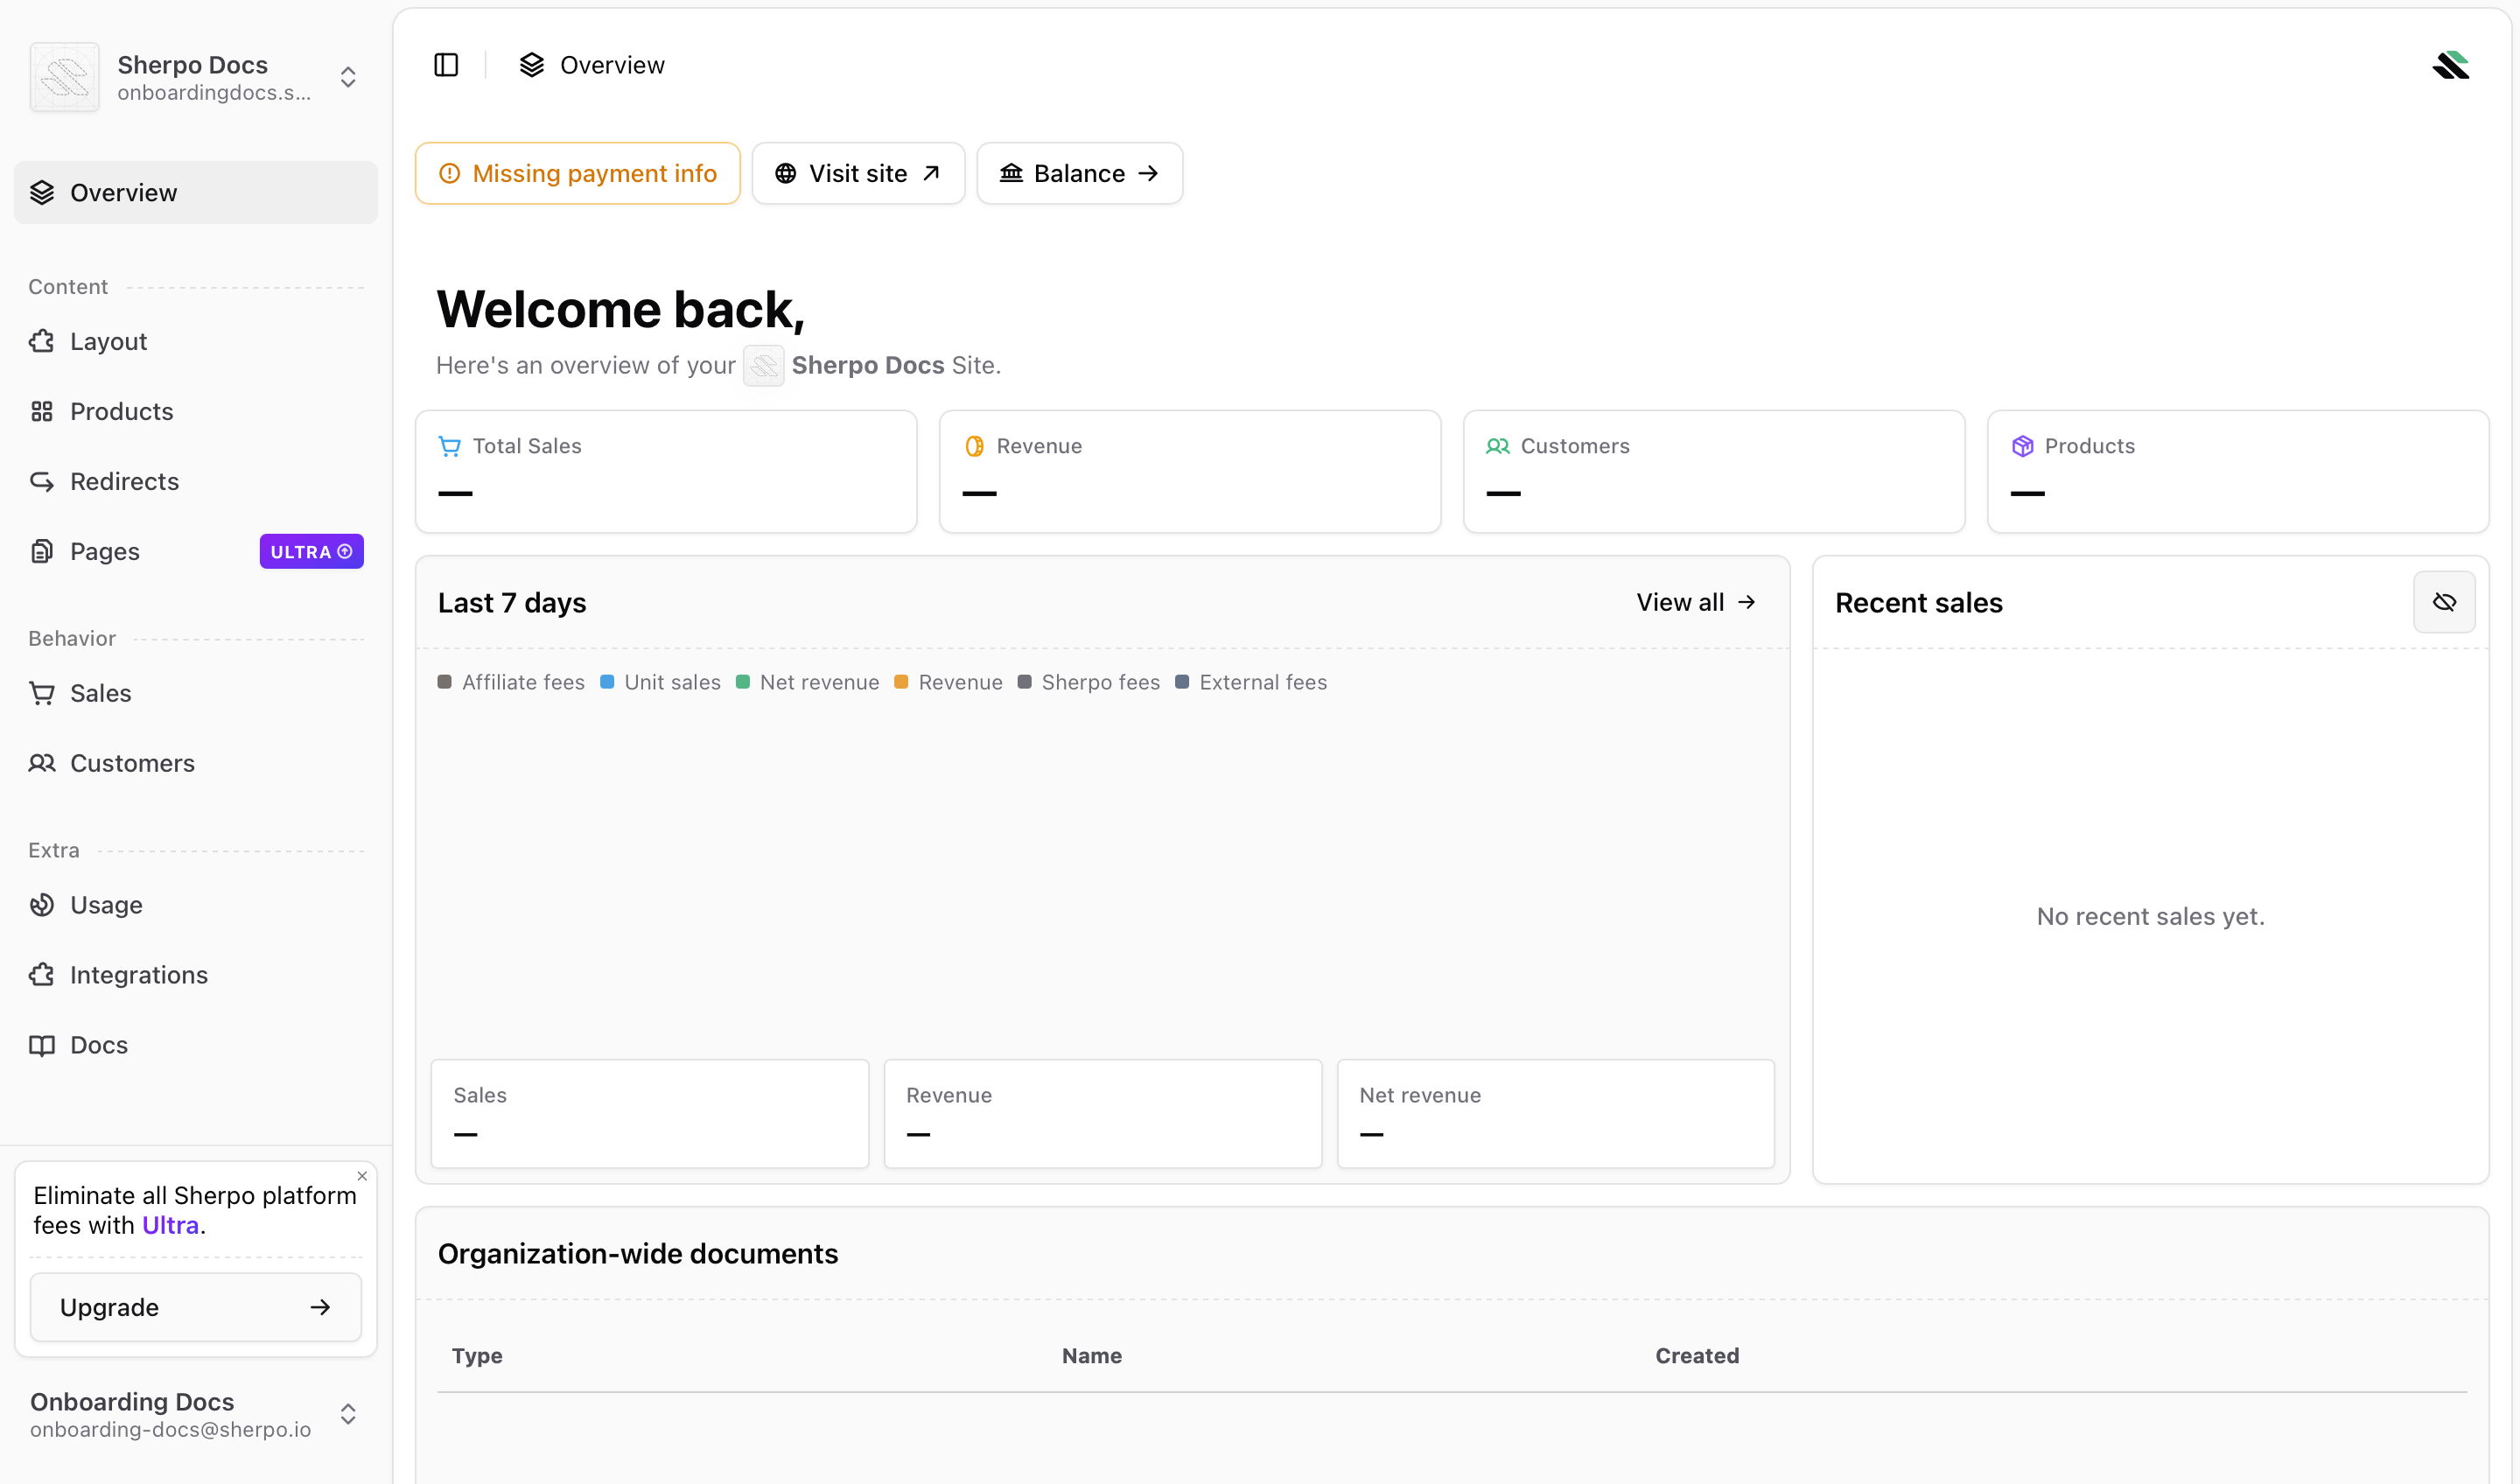
Optional: Connect payments
If you plan to sell paid products right away, visit Organization → Payments after onboarding to complete the Stripe Connect setup (see the Payments doc for details). Check this guide out to properly set up payments:Sherpo shows your Stripe Connect status in the Payments page. You’ll see reminders there until setup is complete.
FAQ
Do I have to complete onboarding in one go?
Do I have to complete onboarding in one go?
No. Sherpo auto-saves your progress after each step. You can close the tab and resume later from the same account.
Can I change my organization name after setup?
Can I change my organization name after setup?
Yes. You can edit it later in Organization → Settings.
What happens if my magic link expires?
What happens if my magic link expires?
Just request a new one from the login screen. Each code is valid for 5 minutes.
Do I need to choose a paid plan to launch my site?
Do I need to choose a paid plan to launch my site?
No. You can start on the Free (Start) plan and upgrade later.
Can I skip creating a site during onboarding?
Can I skip creating a site during onboarding?
No. Every organization must have at least one site. The first site is required to complete setup and access your dashboard.
What if my hostname is already taken?
What if my hostname is already taken?
You’ll see an error when entering your hostname. Try another variation (for example, add a hyphen or adjust the name).